Good At Things
Between working on my house, my actual job, and some less-than-glamorous side jobs, I like to work on fun projects. Some of my own, some for other people. They almost always involve wires and something with motors because they're simple creatures that I understand. So here is a post about one of my more shiny accomplishments.
 |
| When you have to fit 36 RasPi in an old server case |
Things People Say Not To Do
So Dave get this dope motorcycle. But it has some issues. Issues like: There are no gauges, no wires for gauges, the ignition is ghetto, and they don't make parts to fix it. The previous owner of the bike was converting it from a Road King to a Road Glide. The latter of these has a full fairing with six gauges and a radio. The Road King only one gauge built into the tank and zero fairing. Long story short. I need to turn one gauge and a few lights into six and more lights
Alright, assuming that someone has already spent that absurd money to buy all the big parts, all you have left is to connect them with wires.
Issues:
-you need the factory interconnect harness for the fairing
-you need all of the wiring diagrams
-somehow procure all of the opposing gender connectors
-you'll need to find some patience
So lets get a game plan:
-write out all of the pin out info you have
-write out all of the pin out info you need
-cross those together into a list of "pin X to pin X"
-make a harness
-add the extra sensors
-add a couple wires
Since this is a blog and people like pictures, I'll explain with those too.
 |
| This is the available wiring on the bike. |
 |
| This is the fairing harness. I had to connect the available wiring to the plugs on the left and right of this diagram. |
 |
| This simple looking thing took more than one day |
 |
| Note the question marks and scribbles, they're important |
Once you get that done, build a harness. Sadly, I don't have much to show for that. It happened without many pictures. But once the harness is done, you end up with a process that looks like this:
 |
| Remove the outer fairing and any previous wiring for the stereo |
 |
| Remove the inner fairing. Get a little nervous. |
 |
| Remove the tank and get down to the wire. Literally. |
 |
| This is the wiring that runs the rest of the bike. But some of it was useful to me. |
 |
| Remove the bags and side covers so you can fix the ignition |
This is the point where things got a little rough. At first I was like "Come on Dave, this shits easy, lets just rip into it and throw it together." Well, it wasn't. At least not as simple as moving a couple wire. Mostly a test of my already damaged patience. Reminder: I don't have a floor in my house at this time.
 |
| Here is the factory harness that goes in the fairing. |
 |
| Through the magic of pictures, the new harness in and the inner fairing is on. |
 |
| This was a beautiful sight. Except it didnt work. |
|
|
|
Here is a fun thing: sometime I do things wrong. Again, I make this shit up. There was a bad connection. I crossed the neutral and oil pressure light, that was actually kinda funny. The security system was going ape-shit and it wouldn't start. Soo. Drink a beer, go home, and try tomorrow.
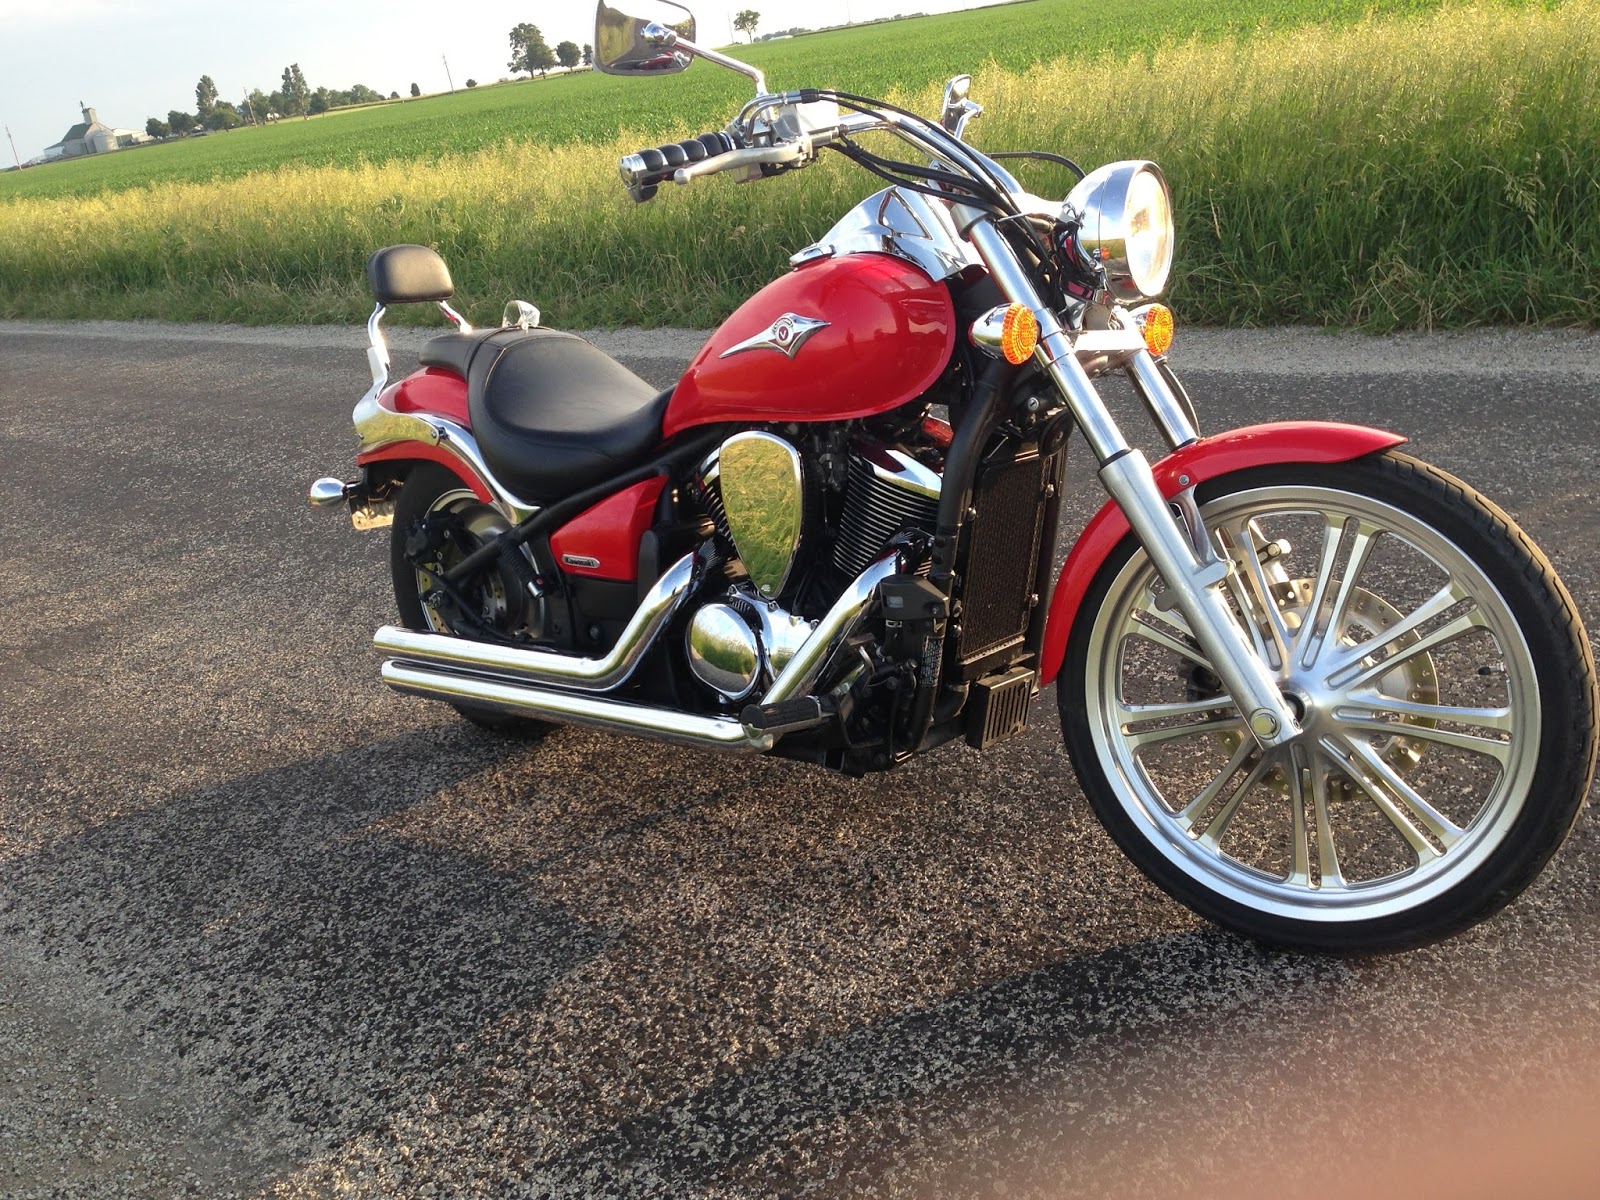
 |
| And when you're all done, go wash all those hand prints and second-hand depression off. |
|
|
Loose connections are easily fixed, wires are simple to repin, and batteries in fobs are cheap. It was a couple weeks of working when I had time and when we had parts. It wasn't the most fun, it isn't perfect, but all the people saying it's not possible are certainly wrong. Sadly, Dave still hasn't let me ride it.