Sunday, November 24, 2019

Side Projects - Two Hundred Dolla Holla

I bought a boat!

I've been working on a blog post about the house for a few months now. Not that it takes that long to write these. But it takes that long to find the motivation to do the work that creates the material for these things. Here's a quick project that has happened in the mean time. 

Continuing trend of buying cheap stuff.

I have an affinity for cheap vehicles. Cars, trucks, boats, ATVs, rolled over, smashed up, missing parts, I don't really care. It's just gotta be cheap. And occasionally these things are nice vehicles that need some love. Occasionally these are junk that should have been hauled to scrap. But this one...my goodness. This ones out of my league good. 

I don't know much about boats. I built that Jon boat that I wrote a post about a while back, but that hardly counts. This one is a real boat. I classify a real boat as one that has six to eight cylinders in a V pattern somewhere under a cover, with a steering wheel that fits nicely under a section of gauges, and a load of switches that do...well, boat things. 

Luckily, some of these real boats have what the rest of the world knows as a small block Chevrolet engine. They're a beautiful piece of craftsmanship that's been around for sixty years. You can still buy them brand new. Now these "marine motors" go for three-four times what a regular SBC goes for, but it's really just some gaskets and accessories that are different from their more available car and truck brothers and sister. 


Now that you and I know the same about boats and motors...

This boat is a 2001 Bayliner Capri 1950. It came with a 305 vortec engine and a 2bbl rochester carb. This setup didn't make it into too many vehicles(well, none really. they were all EFI) but that's alright because you can mix and match nearly all these small block parts together and get a running motor. 
Hidden under all these parts is a small block 305

The previous owner of this beautiful unit forgot maybe the only important part of boats. Winterizing. Honestly I don't even know the right way to winterize a boat. But I do know you have to make sure there isn't a bunch of water in the engine block before you let it sit in the cold. 

Here's the damage from not winterizing your boat:


Now I don't expect you to understand exactly what that means. But I think we can all agree that you shouldn't have holes in the side of your motor. 

And here's how you go about fixing that. 

Start by removing all the covers and upholstery that keeps the motor separated from your boating activities. 


 You should end up with something like this. A completely intact assembly with room to access all the stuff. 


And then you take it all apart. This happened really fast. I'm about 4 hours into the project at this point. 


I've worked on quite a bit of junk. This one happened to not be junk. That really helps with disassembly. I didn't find myself waylaying anything with a hammer or using that dreaded two wrench method to get extra leverage. 

The work was methodical and flowed like an instruction manual. The parts all made sense and there wasn't any of that crazy new engineering where you have to take off extra parts just to get that last bolt. 

I used a normal engine hoist but had to take two goes at it to reach deep enough down into the boat and then rechain to get high enough to clear the side of the boat. A proper shop with an overhead winch would have solved this. 

Out with the old, in with the new.


I searched and searched for a mercruiser 305 from 1996-2002. Not because any other small block wouldn't do, but because I wanted to do this the right way. Keep the boat in all of it's stock glory to avoid any unnecessary troubles on the water. 

I settled on a freshly rebuilt mercruiser 305 engine with stock GM 350 vortec heads and a small, but slightly aggressive camshaft. I wasn't initially excited about the wrong heads and a not-factory camshaft. But I also sourced a set of factory heads and I have the stock camshaft if I need to fix that later.  

Here's the new motor set in place with most of the front end accessories.

I cleaned up the engine compartment a little with a toilet brush and some dollar general brand cleaner. Removed the new motor's intake and distributor. Swapped over the oil pressure switch, oil drain plug, water drain valves, and water pump.

Removing the new motors intake was necessary for two reasons: it's the wrong one and I need the extra clearance to get the engine hoist close enough to clear the boat and my garage ceiling. 

A slightly better view of the ample work space and accessibility. 


 I added the intake and some more parts. 


And here it is with all of the electrical put back and those absurdly heavy manifolds bolted back on. 

Starting a new engine.

I'm not well knowledged in building engines. Or houses. Or really anything for that matter. But we have the internet and you really just need some comprehension skills after you realize that. 

I googled torque specs. I referenced the 5000 photos I took before teardown. I double checked that I did indeed remember how to set initial timing with a distributor. I looked for extra bolts and places that might need them. I made a list and checked it twice. This is the part you need to be thorough about. 

I added oil and turned the key. It cranked! And then it cranked more. And again. But no start. I took a break, decided to check the simple stuff. First thing to check: am I getting spark. I'm not. No power to the coil. Rack my brain for a minute and then...it hit me. I had the run switch set to OFF. 

Hit the key again, fired right up. Starts. Runs. Idles. 


 Making it look easy.

Generally these blogs make things seem easier than they are. But not this one. It was a sincere joy to work on. It really was as simple as it looked. I have a total of three days into this project. Maybe 20 hours total. And the best part: the boat was only $200. And the motor was less than $1000. To make it better, the unused intake from the new motor sold on ebay for $450 in less than 24 hours. 

Knee deep in vehicles.

I'm back on that full driveway game. I said I wouldn't do it. But here I am. The ford was free, and it runs great. The car was $500 and it's seen 30k miles since I got it. The truck was cheap and I needed it. The trailer doesn't need defending, that thing gets a lot of use. The old S10 was my first truck so I bought it back and I'll make a whole post about that. There's a wheeler in there somewhere too, and that things in need of some love but never really complains. And now the boat. Livin the small town dreams here.


The end isn't near.

The house is looking nearly complete on the inside. The house looks the same as always on the outside. I nearly have the mudroom complete(there is backsplash and crown molding and under cabinet lighting as you'd expect), the bedroom has been repainted and the bathroom remains untouched. The next house post is a bit of a milestone but we're still years away from the finished dream of porches and patios and vanities with lights in them. That's all I have for now!


Wednesday, March 20, 2019

Not Without Issue


TL;DR here's the kitchen I made.


In with the new, out with the old

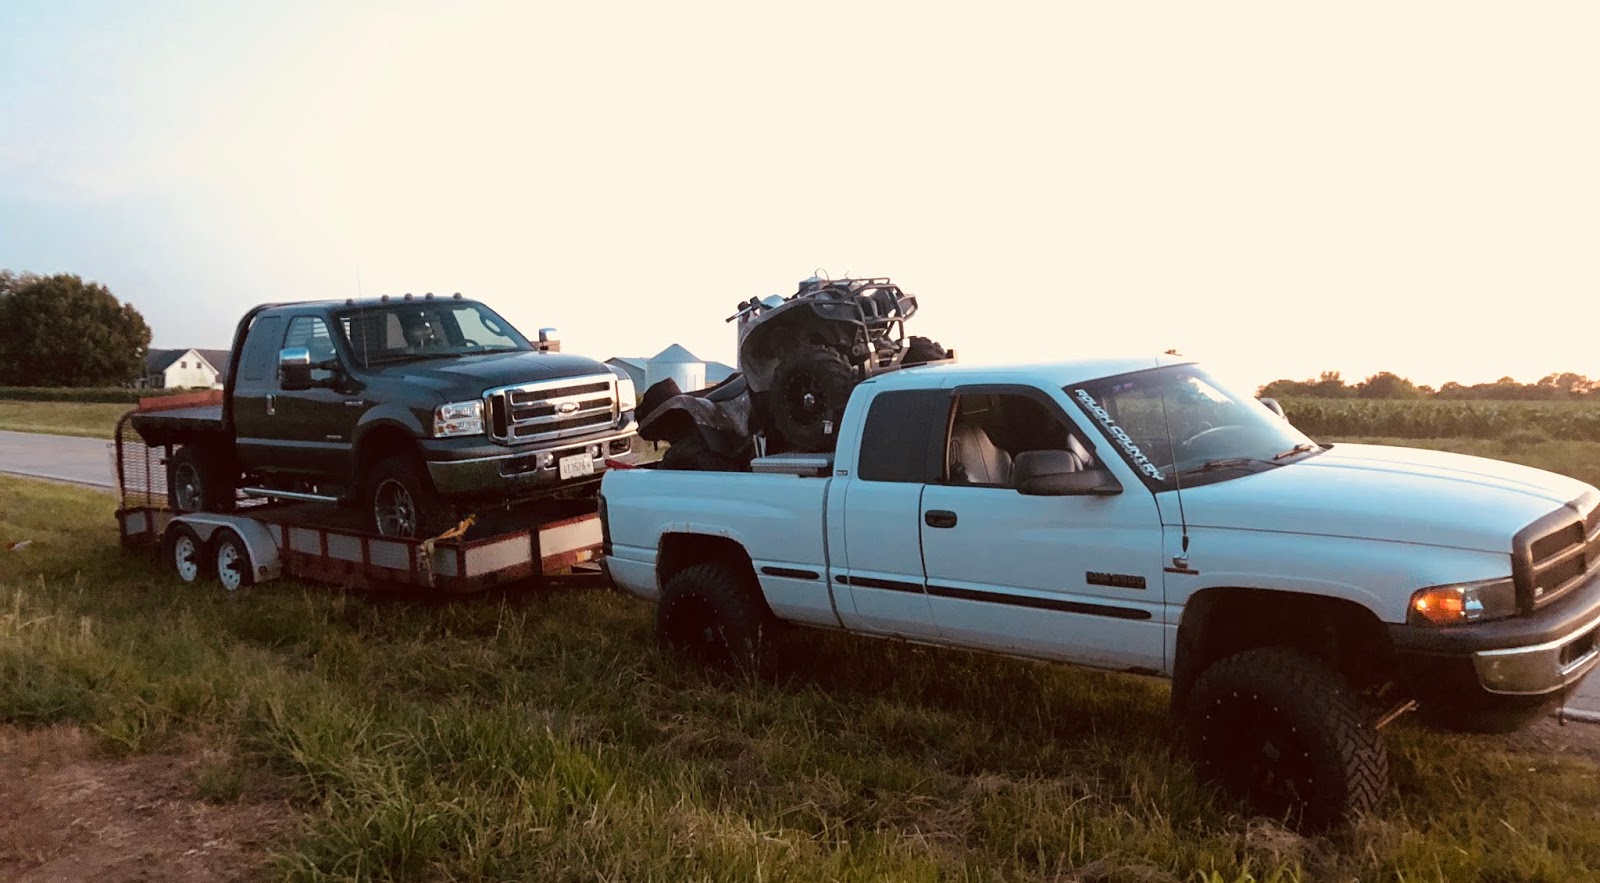
The end of the last post provided no guarantee for a functioning kitchen. But it did mention a new four wheeler. Can confirm.


That picture is not without its own sadness.

Within 20 miles of procuring a new ATV, my truck broke. Somewhere in Indiana. I am fortunate to have amazing people in my life. Amazing people that come to rescue me and say "Oh, I know you'd do the same for me". That is true. I sure would. But I have yet to come across a person that says that, that would ever be in the predicaments I find myself in.

Luckily, Jack had a man's truck at the time. He drove two hours to come save me and Dave. The Ford's fate was sealed that day.

Goodbye Cool Trucks

I sold the Old Dodge.
I sold the Ford.

I don't miss the ford really. I bought Ryan's old truck. It's a little rough but it carries me and my wheeler around without much complaint. 
Just look at the places it takes us.


In spirit of cool things before family things. I took out the backseat so I could fit more subwoofer. 
But then I did the thing. 


I bought the cabinets.

SHEW. I finally pulled the trigger and did the thing I've been debating over for literal years. It's done.

I had a grand scheme of buying them from menards a few at a time but then they decided to discontinue them. WITH DISCOUNT. So I bought all they had and drove 100 miles away to get the rest. Overall the cost was pretty low and the quality is acceptable for the house I have.

Flooring: the chronicles

You see those piles of mortar? The stack of tiles with mortar still attached? The frothpak spray foam kit? That other box that used to carry a 5000w electric heater in it?

All those things can fuck right off. This really kicked me in the shins man. 

-start with a clean new floor
-mix up mortar
-lay tile
-wait 24 hours
-none of the tile stuck
-take it all back up
-scrape all the mortar from everything
-insulate crawl space with frothpak
-buy more mortar
-buy 5000w heater to put in crawl space
-try again

Removing all the 24 hour old tile

Insulate the perimeter

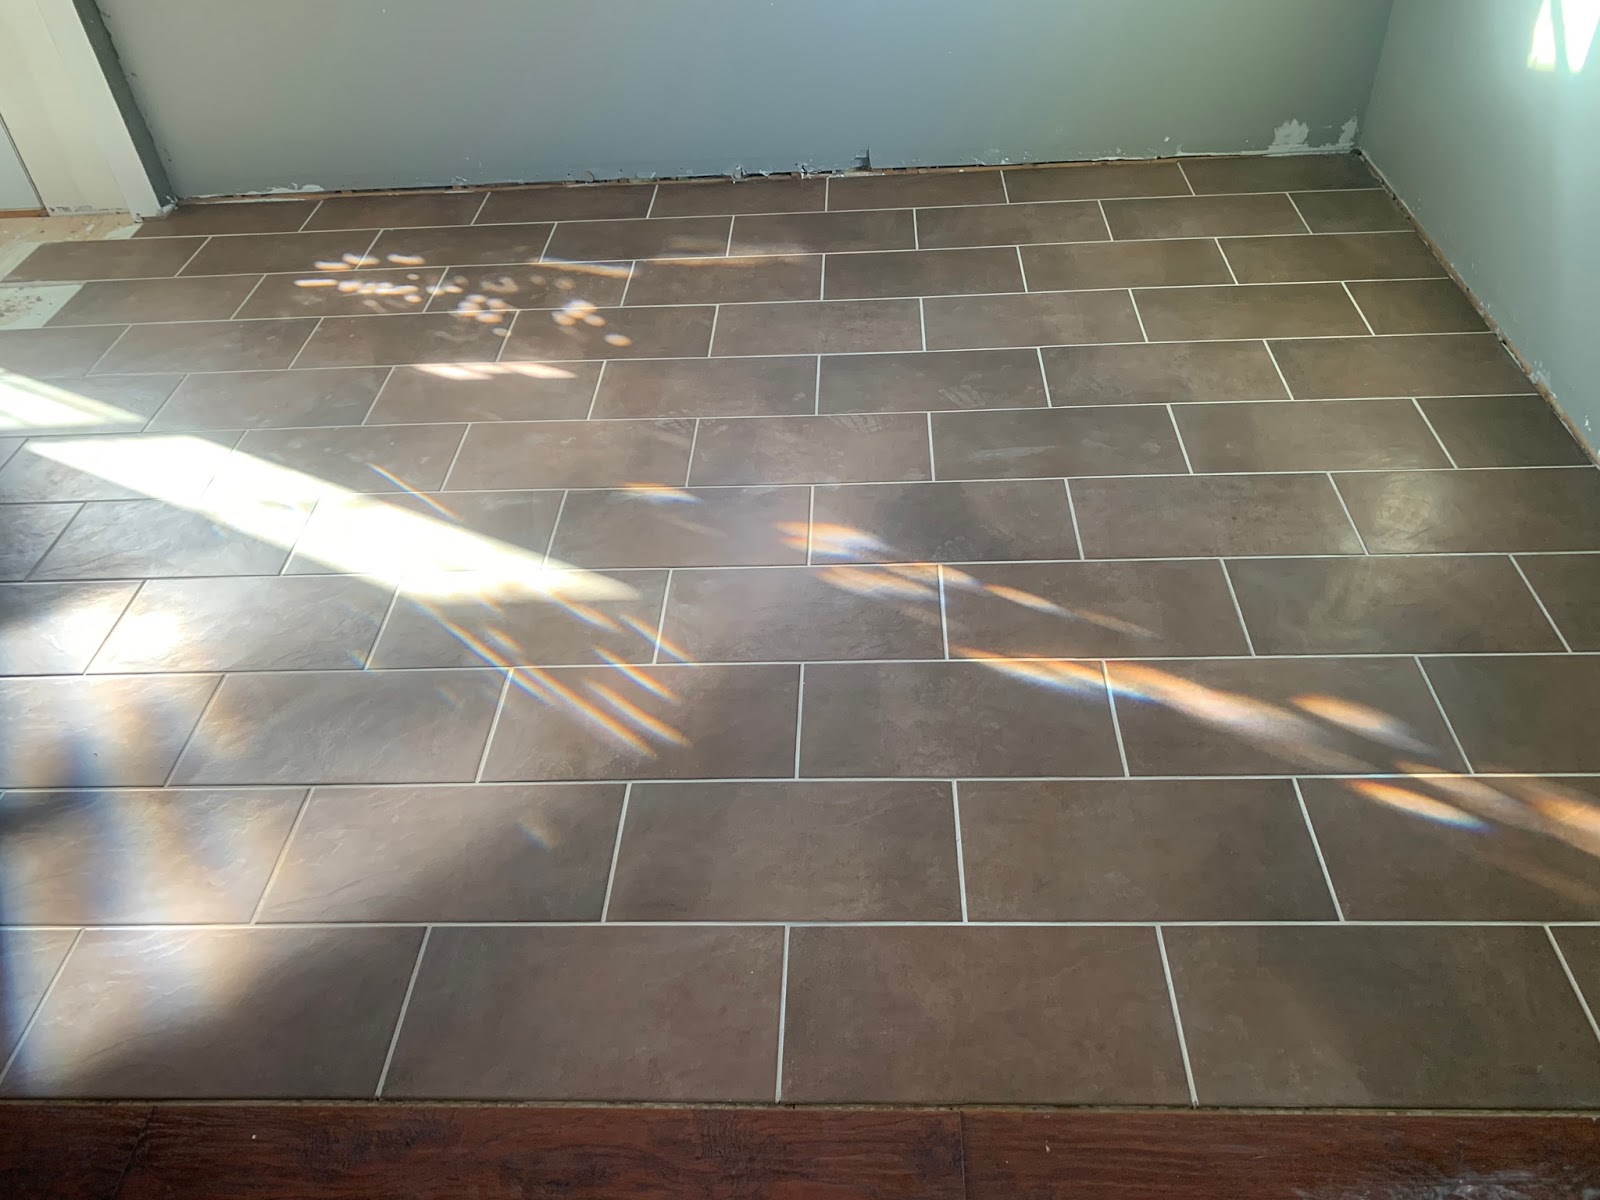
At last. Kitchen tile laid for the final time.

GROUT. This step is: a)pain in the ass. b)requires skill I don't have.

300 hours on my knees with a sponge and a bucket.

YO I FUCKING DID IT.


Christmas as a Russell.

That's me. I'm a Russell.

I had been housing the cabinets in my garage. A future garage project includes a french drain to keep the water out, but currently the floor gets wet if it rains too much. The thought of a trucks worth of cabinets getting soggy from some rain had me panicked. 

I don't do Christmas. Not that I won't ever. I just currently don't. But I did get to spend the day with my sister. And she helped me carry in every single cabinet and get them unboxed. The world needs more sisters like mine. 

I have replaced the foundation, dug out the crawl space, installed new floor joists, laid every piece of subfloor, every bucket of mortar, cut every tile. I installed those windows. There is not a part of this picture that I haven't made.

Finish work :(

I have been simultaneously dreading and dreaming of this period. The finish work. The part that looks good. The steps where every cut and detail counts. This is both my strong suit and my weakness.
Sometimes progress looks like a mess.


The next step is installing cabinets. I debated the layout of these for YEARS and continued to change plans until the screws started going in.


As much as I can continue to tell myself building a house is just a bunch of layers and steps, it's really a grand plan. The things I did five years ago are both helping me and hurting me. But currently, it's about the details. Hanging 20 feet of cabinets in multiple directions and making sure they coordinate with the less-than-square walls, floors, and ceiling. What you see above is a whole days work. 

And here is why the planning matters. See that vent? It's in the wrong place. I had a lapse in planning. I measured out for the 12" cabinets but I forgot about the crown molding. The crown is important. So I'll either have to move that vent or get a cover that will shim up above trim. 


Countertops 

I wanted stone. Well, kind of stone. Quartz. Everyone want's quartz. I could not justify that. So I went with Menards laminate in the from of special order. I bought two runs with adjoining 45* angles. There was still plenty of trimming and fitting to do. But here you can see the trim work start to come together.
If you're installing the counters, always order more than you need.

Here we are. A weirdly unsatisfying part. A lot of work. A big step. Meh results. 
This should be a huge relief. But somehow isn't. It looks...average. It feels average. 

It's all in the details, it turns out

I chose an interesting dark/light situation. Which means the light parts are the important ones and backsplash changes the whole space. As usual, I'm too quick to judge even my own work before it's finished. 

So backsplash and lights it is. I have dreamt of having a backsplash that I was proud of. I made that. Thanks Lowe's.


I found a guy at Lowe's with a red tag that said "IN TRAINING" and did a situation like I do in the paint department. No less that 20 minutes later we decided on this one. 
Lowe's trainee did real good.


I laid all the tiles out before I started. I bought premixed mortar because cleaning that off of a bathtub sucks(that's my functional water source). This is about 30min of frantic but happy work. I LOVE IT.

oh i added a sink too


Finish work sucks

Backsplash goes up so fast. But then theres the grout work. Caulking. Trim. So much trim. 

I had to move my light switch a few inches around the corner and added a second switch for can lighting. The backsplash grout was a little sad at first. It really took away a lot of the natural stone character but that turned out to be just right. 

The fridge pantry is a standard 94" tall. Which means the adjoining cabinet will be at 94". My ceiling, if you recall from the last post, varies in height and happens to be about 100" tall there. Mostly theres a gap between the cabinets and the ceiling that sucks.

I decided to run the under-cabinet lighting to the top of those cabinets, put up the same crown a few inches down from the ceiling and let the lights shine against the ceiling. That turned out nice. 

Theres ceiling trim, floor trim, window trim, toe kick trim, window sills, caulking, low voltage wiring, somehow more trim, and a bit of 120/220 wiring.  

Here's what all of that looks like:

Not quite done

Theres a good possibility I continue to walk through my kitchen and never actually use it this year. It's nearly four wheelin weather. 


The next steps include revisiting the crawl space and spending more money on appliances than I have ever spent on a vehicle so I don't mind ignoring that for a while. There's still the transfer switch to install, power feed upgrade, finish up some painting and trim in the bedroom, a laundry room that doesn't have finished drywall or even flooring. Of course the bathroom. I haven't even started on the bathroom yet. 

k,bye thanks for reading about my life

Monday, May 14, 2018

The Beginning of the End

It's been a long time coming, and it'll be a long time till it's done, but I'm in the final stretch.


A quick look back

While sitting here, 4 pints in at the brewery nearest to my work, I realized I could have replaced one door on my house back in 2013 and avoided this whole fucking mess. Maybe it was Jesus' recent revival, maybe it's the beer, I'll never know. But I just realized this whole mess started with my hot water heater's pilot light going out. The pilot light went out because I removed some of the old peal n' stick tile to see if I could put something more attractive down. The removal of the tile left a sticky layer that the old door's seal got caught on, quickly ripping it off. The lack of seal let the wind in and blew the pilot light out...time after time after time. 

I fucking wish my issues were waking up to no hot water. Man, I was(read: I am) a fucking idiot. Instead of putting in a $200 door, I decided to put in a tankless hot water heater. Then I found a tankless heater on Craigslist that goes on the outside of my house. Then...it just snowballed into where I am now. I regret it. I could have lived my life nicely without these hard lessons. So many people just call a plumber or an electrician. But nooooo. I gotta be the idiot. 

Shew. Anyway. I have a blog to write.

The Last of the Bullshit

About the last dreadful part of my house remodel is the plumbing. The previous owners used soft copper and compression fittings to tie into existing galvanized water lines and some old cast iron drainage. I don't really blame them, but I still despise the fact that not even one part of this house has been a break in the perpetual shit list of things to do. 

As seen in the previous post, I moved the washer box and added plumbing for a vanity in the mud room. I hadn't done anything beyond running the new stuff down past the subfloor. So...crawl space.

Fuck Cats, man.

I had to wake up at some absurd hour, like 8am or some shit. My list of things to get done was a mile long and I didn't have time for this mess. But I got a text from my neighbor. I wasn't home and wouldn't be for 8 more hours. 

Eight hours and a dozen beers later, another neighbor, BJ, was helping me unload tile and he stopped mid sentence and said "was that a meow?". It was. This cat was so stuck. I was mildly Sunday drunk and this was not gonna be my problem. Might be my foundation, but that ain't my fucking cat. So I called animal control, turned on some 90's country, and drank beers with BJ and foundation cat until Brenda(or whatever her name was) showed up. 


She tried putting soap on it and twisting and pushing for a while, but ultimately we ended up chiseling out a bit of block until it was free. Now this little orange bitch is in my crawl space. 

Sorry for the screenshots. 
Whatever. I still get mad about this part. I'll spare you the pictures, but it left a pile of kittens in my crawl space. Dead, tiny kittens. Those pictures do my crawl space too much justice. It's like 20" tall down there. I had to lay on my stomach and move these smelly dead things before I could get to the plumbing part. 
Just kidding. Here's some dead cats.

Pipes and Shit

Literally. I'm cussing a lot in this post. Maybe I should slow that down. But here's a bit more of what you're used to from me. 

The usual:
-Rip out the old
-Put in the new
-Take some pictures
-Make a blog
Cut out the old.

Cut out more old.
Soft copper. 

No copper. Gas lines I installed a few years back.
Put in the drains. 
Get some 3/4" copper goin on. 
This is all mud. Like 3" of mud I laid in for 12 hours.

Progression

Each blog post represents the trough of my ambition's waveform. The progress being the crest, and the endless tiring work between the two is likely just self deprecation and drinking heavily. Generally at a predictable 3 month interval I make a couple leaps in life then wallow for a while. 

I woke up on a Tuesday and decided I would quit smoking and being a grown up. I DID GREAT. No more cigarettes meant less Casey's stops. I limited my food spending and took every leftover meal my neighbors had to offer. Two months in I had paint on my walls, doors where there should be doors, and even a few extra dollars laying around. Scrubbed my garage until it shinned. Gave the dog a bath. You know, all those normal things I generally avoid. 

Here is what all that looks like:

TV wall and hallway.
For reference, this house had a 4" step down into the hallway when I bought it. The floors were actually collapsed in the opposite way. They managed to layer on the bullshit 6" thick.

He doesn't always look this dumb, we both have troubles expressing happiness. 


Put on some trim. 

YAY!


The pile of things in the middle is the tile for the mudroom and kitchen. 

Resume normal George

I tried out the happy and productive life. Wasn't for me. Luckily for all six of you that read this pile of garbage, it takes a bit of loathing and anguish to get one of these done. Let me give you a little insight.

As soon as all this progress was made, a whole list of shit broke. The only two lines I hadn't replaced in the crawl space sprung a massive leak. My truck's axle, hub, drum, and tire slid out the side of my truck while I was driving down the road, I found a fucking bird in my dryer duct.

Nope.

Kitchens are for families

So I'm gonna buy a new 4wheeler instead. It could be a while before you see pictures of cabinets on here.